Pre-Requisites
Installing git
Windows
Go to this link. Follow the instructions to install git bash.
- Accept the terms and conditions
- Install Git Bash and Git GUI
- Select your preferred text editor
- Select “Use Git from Git Bash only”
- Select “Use the OpenSSL library”
- Select “Checkout windows style, commit unix style line endings”
- Select “Use Windows default console window”
- Select the first two extra options
Linux
You know what you’re doing.
Debian, Ubuntu, Mint and other Debian based distros
sudo apt install git
Arch Linux, Manjaro and Arch based distros
You probably already have this.
sudo pacman -S git
Fedora, RHEL and Red hat distros
Why are you even here?
sudo dnf install git
Create a github account
Go to github and make an account if you don’t already have one.
The Session
The Local Repository
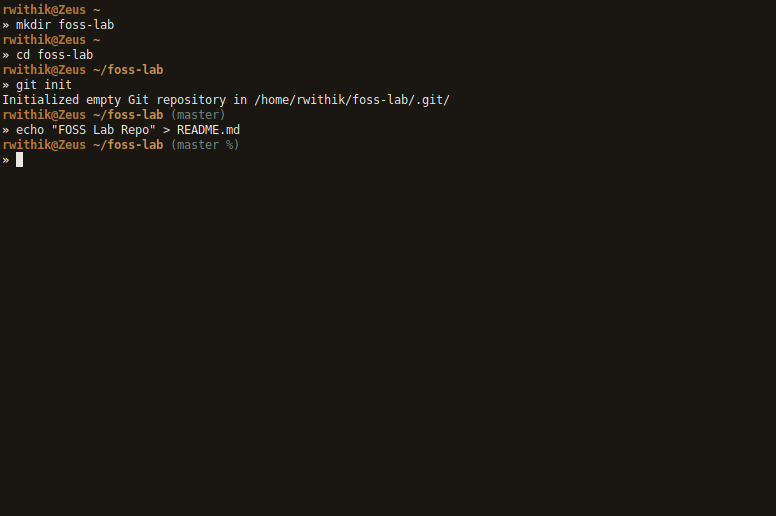
The first step in using a version control system is making the actual
repository. Here, I’ve made a directory named ‘foss-lab’ and converted
it into a git repo by using git init inside the directory. This creates
a .git directory inside the repo, which store the details about the git
version control system. This directory is our local repository. I’ve
also made a README.md file.
The Remote Repository
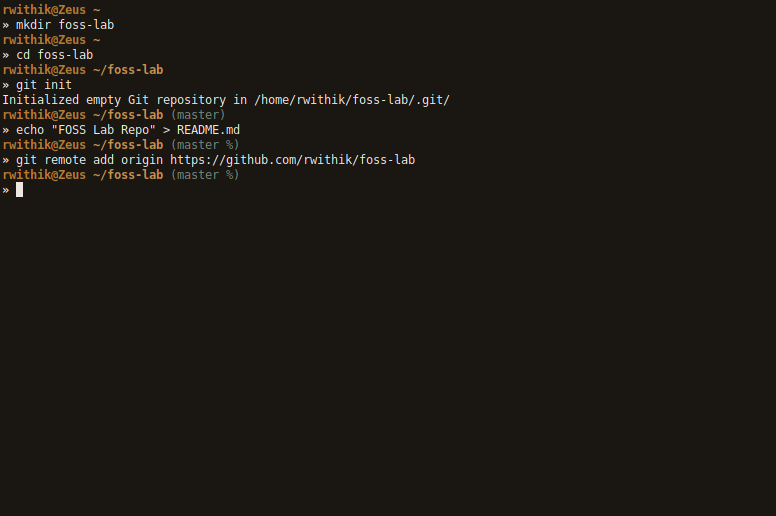
The local repository exists only on my system. We need to connect it to a remote repository, for any sort of collaboration to be possible. So, I made an online repo at github.com.

Now we need to connect the local repo to the online repo. This is done
using the git remote command.
Syntax:
git remote add origin [URL]
Making Changes
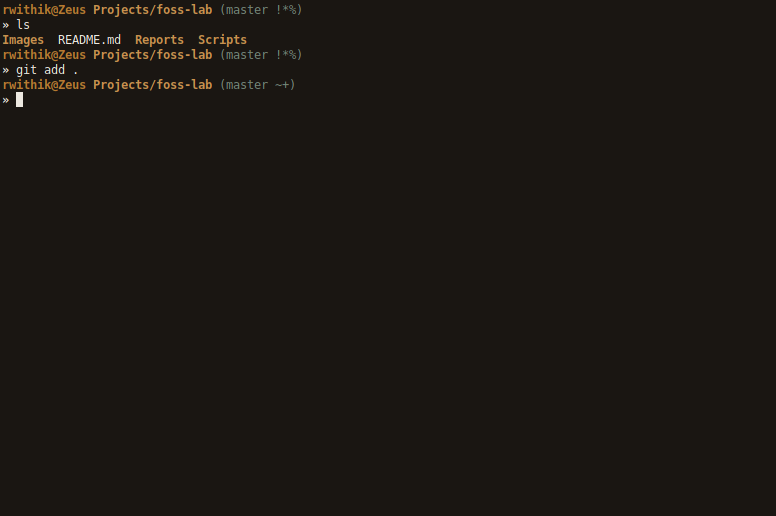
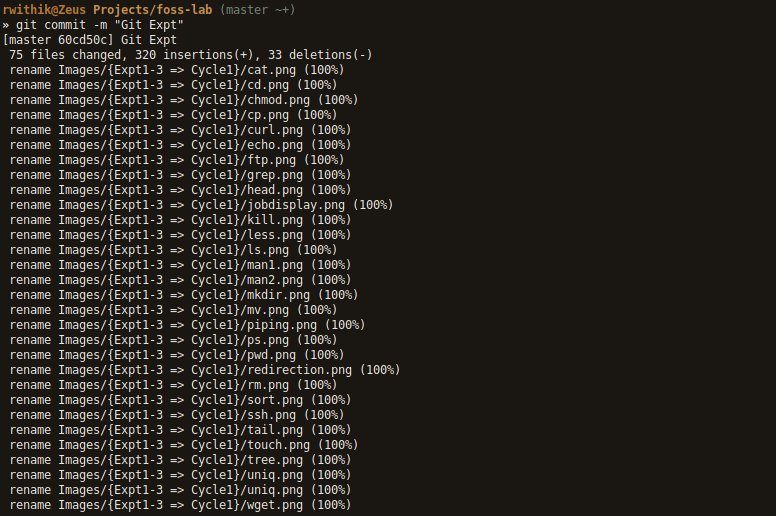
Any new files or any changes in existing files should be added to the
local and remote repositories. This is done with the git add command.
This add the modified and new files to the staging area. Then the files
are committed with a commit message using git commit. This records the
changes in the local repo.
Syntax:
git add [FILE(S)]
git commit -m "MESSAGE"
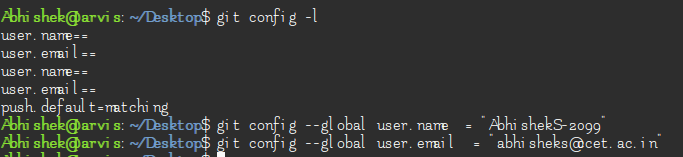
Setting Up Your Account
Among the first things you should do when you install Git is to set your user name and email address. This is important because every Git commit uses this information, and it’s immutably baked into the commits you start creating:
$ git config –global user.name “YourUserNameHere”
And then
$ git config –global user.email YourEmailHere
This will add the credentials to the config file stored locally, and will prompt you to login to the GitHub Id, you just provided.
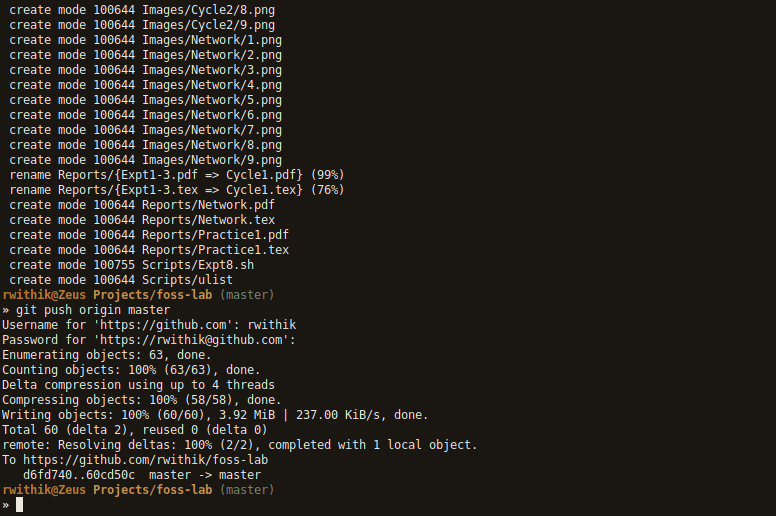
Pushing Changes to the Remote Repository
The changes we committed are currently recorded in the local repository.
To push these changes to the remote repo, use git push. In the example
given below, origin is the name of the remote, and master is the name of
the branch.
Syntax:
git push [REMOTE NAME] [BRANCH NAME]
Comparing Previous Versions
Use the git log command to see all the previous changes with their commit messages.
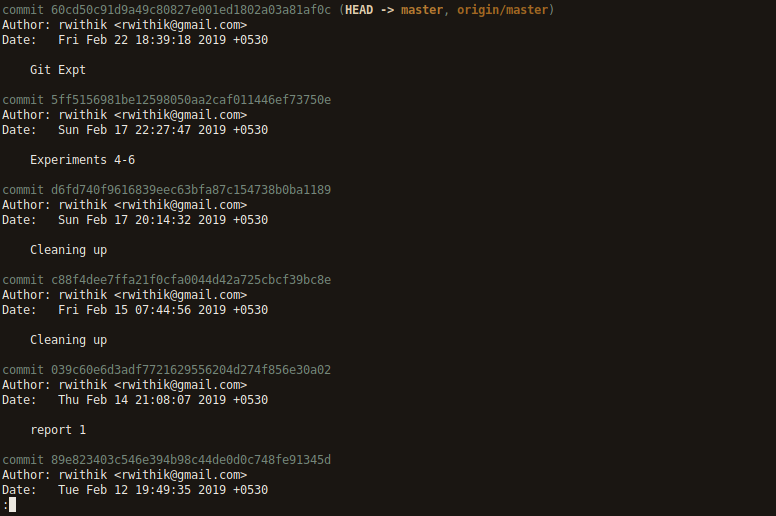
Use git checkout to revert to a previous state of the repo.
Syntax:
git checkout [BRANCH]

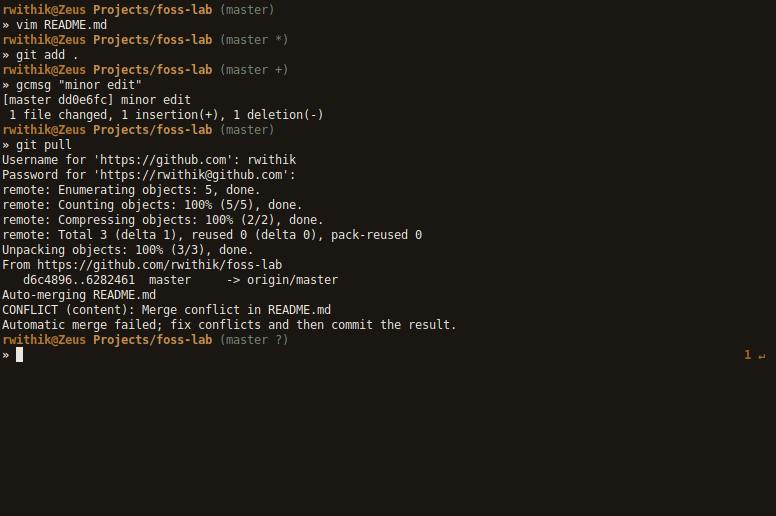
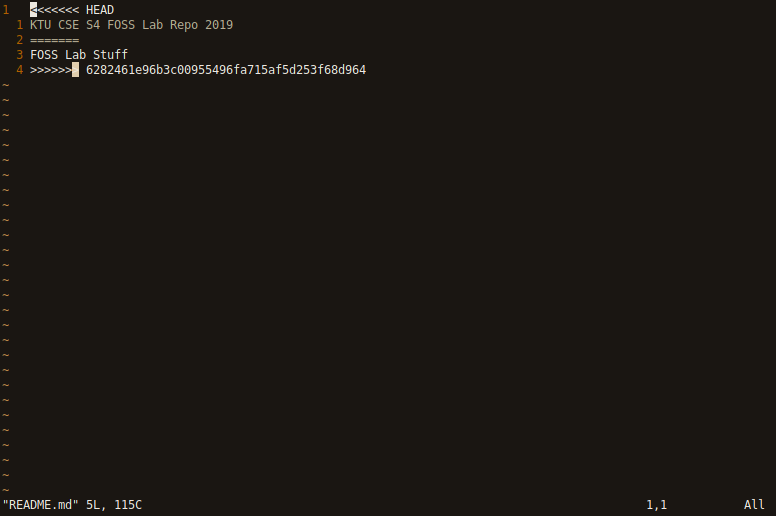
Merge Conflicts
The git pull command is used to update the local repo when it is behind
the remote repo. Automatic merges of changed files occur normally, but
in cases where the same lines are changed in both the repos, a merge
conflict occurs. It can be resolved by editing the conflicted files and
choosing which change to keep.

References
Intersted in learning more about git, check out the following
Official Documentation
Github Cheat Sheet
Atlassian Git Tutorial
Interested in doing interactive learning through git visualization, then check out Learn git branching
Just an all in one reference